
I’ve wanted to do some wooden inlays for a while. I’m reluctant to learn any new software since Estlcam has been awesome to use for everything else. I’m sure there will be a need to move on at some point, but that time is not today 🙂
I did buy a month subscription for Carveco to complete an inlay, but it turns out I didn’t need it. I found a way to perform the same functions in Estlcam. By following most of this tutorial for Carveco, I was able to use the same basic idea in Estlcam.
The basics behind why it works:

WARNING – Manually start your spindle before starting the male carving as its “Start layer” is 5mm below the timber surface. If needed, add a have a small shape to mill at surface height first, maybe a 1mm drill with the v-bit. Start your feed rate low and work it up depending on what you think the bit and machine can handle.
The test runs I’ve done have been completed using:
- 60 degree 16mm V-Bit, 6mm shaft. The likely hood of it snapping is low.
- Light coloured soft wood – female.
- Dark coloured hard wood (Jarrah) – mal. This was a worry, it had a few burn marks and made stress noises while milling.
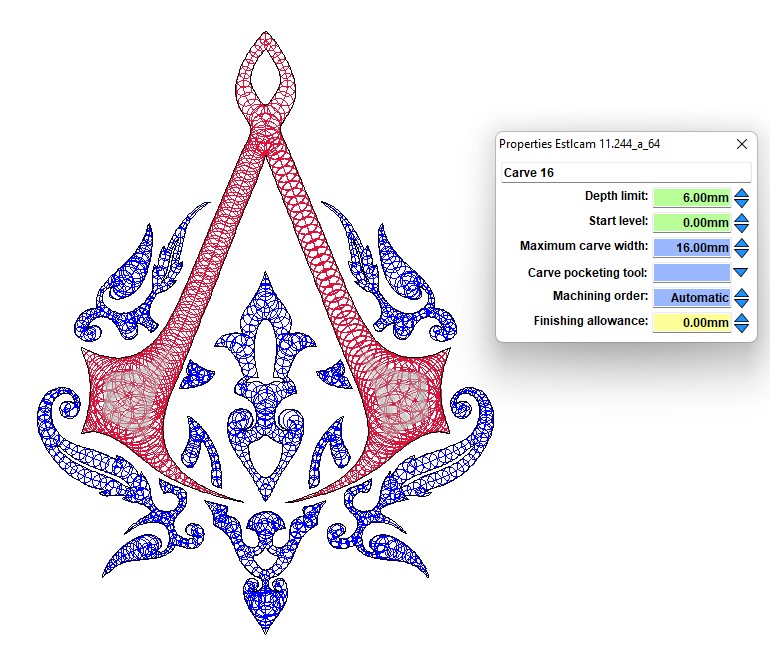
- Male side – Start level: 5mm, Depth limit: 6mm. READ WARNING ABOVE!
- Female side – Start level 0mm (default), Depth limit: 6mm.
For the tests I ran a pocket cut over the work area to make sure the surface was perfectly flat (not seen in the images. The female side looks like a standard v-carving:

When both sides are carved and cut from the rest of the timber, put glue on both sides and clamp them together using ‘G’ clamps. If possible, don’t use quick release clamps, I don’t think they have enough strength. For this inlay I sandwiched the two sides between 2 larger thick pieces of timber and used 4 sash clamps. Also don’t squash them too tight as you may split/crack the softer woods.

The result: I’m pretty happy with it. The fine details came out pretty good and it fit together very well.

I also used the V-Bit to pocket the carving (very slow) – this is because I’ve still not setup a good tool change script in Linux-CNC.
After writing this I can see ways that this procedure could be improved – eg cut a basic pocket before starting the male inlay to reduce the stress on the machine and bit.